How to Install and Manage WordPress Plugins?
Most of the webmasters use WordPress these days, not only because it looks good, but, also because managing a website becomes easier with WordPress CMS. Adding new features is also a breeze with WordPress, as the plugins do all the tough jobs for you. Wondering how will you install and manage plugins? Well, this article should help you out:
Finding Plugins
After you install WordPress, there are a few plugins that gets automatically installed in your website such as: Akismet, Hello Dolly etc. However, you’ll need more plugins than these and for that; you have to manually install those.
The official website of WordPress is probably the best place to find relevant plugins for your website. You’ll find numerous plugins in this page: www.wordpress.org/extend/plugins. You can read the features of a particular plugin and then download the same to your local machine. There are paid plugins as well and those are priced according to the features offered.
Installing Plugins Through cPanel
- First of all, locate the folder in your file manager that is specifically for your website. In case of shared hosting, it will be located in a folder under the public_html directory. Otherwise, it will be the root folder itself.
- Now, open that folder and locate wp-content.
- Open wp-content and then find plugins folder inside.
- Open the plugins folder (You are now at: Website Folder->wp-content->plugins), copy the downloaded plugin there and unarchive the same.
- You have now installed the plugin through cPanel.
Installing Plugins through Your Account
- After you login to your account (Make sure it has administrator access), on the left pane, you should see the Plugins tab. You will see a plugins link after you expand the tab (It is generally expanded by default).
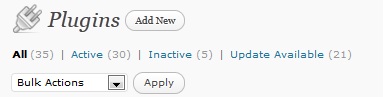
- Click on that link and you should see all the plugins installed here (Even the ones that you may have installed through the cPanel).
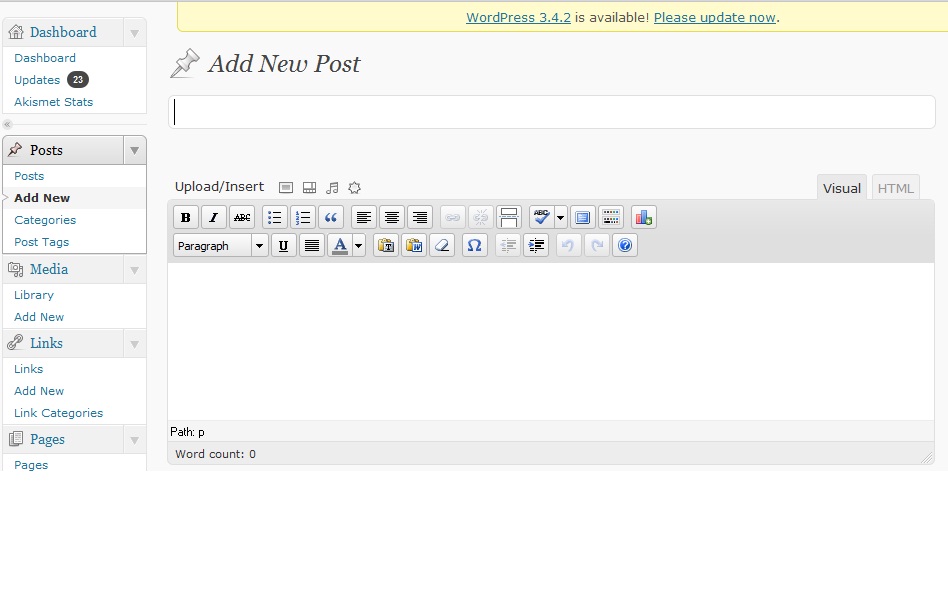
- You should see an “Add New” button on that page. Click on the same.
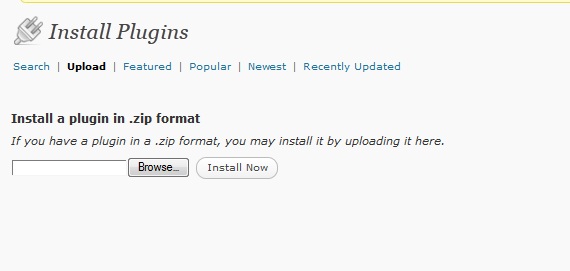
- You can search for a plugin here or upload an already downloaded one. Browse the file and then click on “Install Now” button. Make sure that the plugin you install is compatible with the version of WordPress you use; otherwise, you won’t get the full functionalities.
- After successful installation, you will be redirected to the main Plugins page with all the themes listed.
- Just below the newly installed plugin name, you should see an “Activate” link. Click on that and the new plugin will be functional for your website.
- You can change options of a plugin as well. You have to locate the plugin name from either Plugins tab or Settings tab.
- If you don’t wish to use a plugin any further, you have two options. You can permanently delete that plugin or just deactivate it and keep it for future usage.
Tweaking Plugins
You can tweak plugins functionality through the Editor link. But, it is not recommended and you should not try this unless you are very much proficient about WordPress plugins and PHP. Also, before you tweak the code, make sure to take a backup of your files.
Updates
Always update the plugins as needed and the updated versions should be compatible with the WordPress version you are using for your blog.
Installing and Managing WordPress plugins is not a tough job unless the plugin code has some bug in it. If you face any problems while installing a plugin, please share the same with me through the comments section.